Monday 25 March 2013

Elizabeth not Gordon Bennet!

Oh I treated myself to this lovely IndigoBlu stamp at Harrogate - isn't she just devine!
When you look at the stamp there is some honeycomb pattern going on - got that another IndigoBlu background stamp and the flutterby I have a free stamp from Kay as well that came with my craft stamper mag  so I added a swirl from crafty individuals and a sentiment stamp but I have no idea who makes that!

White background card brayered with mulled lavender and background stamps with same. Image stamping done with dusty concorde and a few gems for good measure.

Sunday 24 March 2013

70th birthday


I have been asked to make a 70th birthday card for a locksmith!!  Have to find a humourous verse yet but the outside is done.  I took a shape from a spellbinder and cut what I thought was the nearest shape I had to an escutcheon! so I cut one in White and then cut a small circle out with a die. I then manually cut out the bottom bit to make a key hole and stamped with archival ink with a flourish stamp from Clarity and inked around the edge with black soot.  I stamped a 70 and silver embossed onto black card then I also cut this out with the die to show the 70 through it .

I cut a strip of white card and randomly stamped some keys and the sentiment  I created the background using a background stamp that is all just keys. I used a second generation ink for this.

Labels

70 H & B stamps from the letter box set by Clarity
Big key  is from Crafty Individuals
small key is from the men's miniature set by Clarity
background keys stamp is from Kaisercraft.

Saturday 23 March 2013

coaster for my camper van mad girl


On my recent foray to the craft show in Harrogate I visited the lovely MDF man and got some coasters as I thought  I might just play with those at some stage.  Any way during a conversation with my fellow crafty mates that evening talking about our hauls from that day my daughter interjects and says can I have one with a campervan on for my desk pretty please?  How could I refuse?


So here it is 
Stamp is by Little Claire and the letters are a Tim Holtz sissix alphabet die  
I painted with gesso first then tinted a bit more up to a lilac colour.  stamped onto tissue with  archival ink and coloured in with promarkers from the other side.  I cut the letters out of cheap copy paper and coloured with another promarker.  
I gave it several coats of glue n seal from Ranger so we will see how it lasts.  

She is coming over tonight ---- she had better like it  LOL x

Friday 22 March 2013

getting messy with Dylusion

Thought I would have a play with my new dylusion sprays  am a bit busy with orders and stuff but I thought I would have a messy afternoon one day.
I sprayed with yellow and brown and I got some ace background stamps from Kaisercraft just randomness is the only way I can describe ... look at the messy lines and random dots on the background.
the traction engine is a stamps away and the letters are from Clarity .  I should have made them a bit more hiddledy piddledy than I have as they look a bit like the are stamped straight but gone wrong if you get my drift.  Still I had a fab time playing.

framer card

Here is how I made the frame for the framer card.  It is easiest to make the frame then put the cut a back to the finished size to stick on that way you can make one edge a fold so that it opens like a normal card.  I started with a peice of card 21 cm square for this exercise I used a card with a pattern back so you can tell right side from wrong side.


I scored at 1cm, 2.5,5 and 6 cm on all four sides

the first score line forms the base of the frame the second makes the side  the score line between 2.5 and 5 makes the frame on the top of the card so in essence the frame will measure 2.5 cm all around. get it? got it ? good :)

I then cut a cross in the centre ..take note where I start and stop it is NOT the first score line.


Now I burnish all the folds and then open up the middle as so from the wrong side


next job is to cut away some of the corner in order to be able to fold it over and make a box shape.

Can you see that I have cut out 3 of the squares in the corner but left the middle on and then I have cut to the fold line this is to make the flap to stick!

I have hidden the flaps inside and I have used red tape so you can see where it is glued. probably best to use a wet glue and a peg to hold it until it dries!  Next comes the middle section.


fold the corners out over the frame and glue into position........ nearly there

trim off the excess

et voila done.  as I said I would then make a folded card big enough to stick this onto.

There are embossed lines on the frame where you can see the dashed lines on this pick but you can use them in the designing stage. or cover them up with embellishments,

I hope you have enjoyed this and would love your feedback/comments as I have never ever done a tutorial before and am hoping that these instructions are easy to follow.

Thanks for stopping by

Tuesday 19 March 2013

Bob's Birthday


It is the other half's birthday this week I still haven't got him anything - he doesn't know what he wants he is sooo bad to buy for as he has no hobbies and doesn't do anything grrrrrrrrrr.
Anyway thought I had better make him a card if I dont do anything else lol.

The main stamp is a from Just right stamps it is one we did a workshop with Maria Simms some time ago. I also have a small set of stamps with a nautical theme ( don't know who made them as I have had them a while) and also has the same Travel word as you can see faintly in the background I also used a ship and a compass.  As the background to the main stamp is text I made the whole background with a script stamp from Indigoblu.  the brown rectangle is stamped with a distress stamp I got from Nikky Hall at Polkadoodles    but you can't really see it one here.   The cogs are cut from a spellbinder die and the round sentiment die I could possibly be either little Claire or Lily of the Valley BOB is from the letterbox set from Clarity
Hope he likes it  but I bet he just says thanks  cos that would be about right for him... grumpy git 

Monday 18 March 2013

Biker ruby wedding

Hi folks

What a weekend that was fantastic day at the Harrogate show - got loads of stash and my name was pulled out of the hat for Karaoke crafting with Barbara Gray.   I couldn't believe it as I also got pulled out last October!  Never mind ..sung for my supper with Barbara and won a fabby prize.

So yesterday the old arthritis was giving me some stick for being stood up and walking about for too long on Saturday but it's back to normal today so all is well.

I have been asked to make a ruby wedding card for a husband.  The lady wanted a motorbike on the front - that was OK as I had a stamp  she also wanted bling!!! Anyway after a couple of chats with some facebook friends an idea eventually came to fruition.


I got some new stamps at the weekend amongst which were some background stamps from Kaisercraft so I thought I would use one in the background.  It is just some randomness but just fills up the white space and I quite like it .  The motor bike stamp was a freebie on a creative stamping mag last year it was all men's stuff.
I also made a box for it to go and and the letters are Claritystamp. I then added some bling from my stash.


Friday 15 March 2013

Happy Birthday


This is a quick card I made to send to Barbara - I nearly missed her birthday and that wouldn't do. I only realised on Tuesday morning and I need to post it the same day.  
I wanted to stamp sending you sunshine but I cannot find my stamp anywhere ... it is still missing :(  how can you lose a stamp stuck to a big lump of plastic?


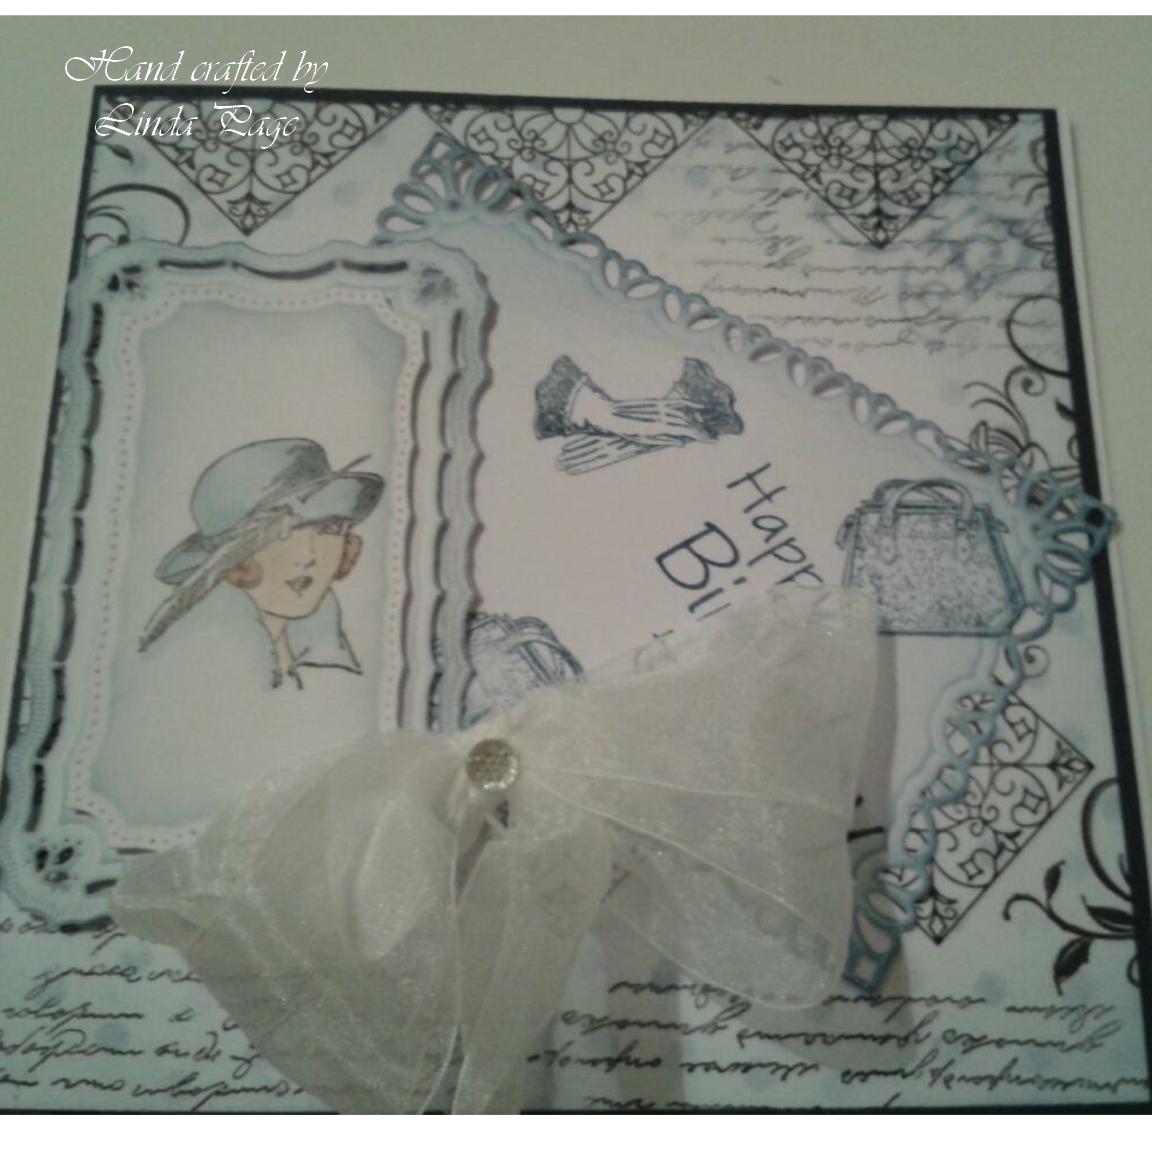
The picture I am afraid doesn't really show the clouds - I wanted to do some random ones for the sky but to my horror discovered I had no Clarity coated card stock left except black which meant  I couldn't use the cotton wool trick so I tore a piece of paper and used that like I would with a cloud  mask - at least it is a bit more random.

All the stamps are from Claritystamps

I coloured the balloons with promarkers

Off to do the weekly food shop now, fill up with petrol, do some cooking (so that I have stuff easy to have for tea tomorrow) and get ready for my trip to the Harrogate show tomorrow my friend Margaret and I are booked in for a Karaoke workshop at 11 with Barbara.

Now then lets check my list of needs..............
clarity card stock
new stamps? not making a decision till I get there as I want sooo many!!
some spellbinder dies
heat resist acetate
white shrink
cosmic shimmer glue
dylusion sprays
should I have a dabble at art journalling - get a book? and the list goes on...

For those of you who are going - give us a prod if you see me.

Don't know when I will next get around to blogging but hopefully will get chance to make his lordship's birthday card this afternoon (his birthday next week) so maybe I might get chance to show you I have  an  idea of what I want to do so that's a start.

I am also partway through making my design for the April Claritystampchallenge blog not too sure about it yet  but I still have time to start all over again LOL.

thanks for stopping by. xx


Thursday 14 March 2013

Happy 21st

Morning Everyone just a quick post today as I will be off to play at my local craft club this afternoon.

My youngest daughter sent me a set of stamps for mother's day - she managed to find them in a little shop in Gibraltar - where she works so I thought I would use them to make a card for my niece who is 21 later this month and loooooves Pink!


It is quite a simple card - oh I should have said that the stamps are from Artemio.
the lanterns have a lantern shape and then a block image to stamp the colour behind.  I also wanted to add her name so I stamped the block in pink and cut it out.  I stamped the lanterns on heat resist acetate and embossed with silver. I turned these over (so that I had a smooth surface) and stamped the letters from my Claritystamp letter box kit in black and embossed with black  WOW embossing poweder.  I stuck the pink backs on and made a hole in the top to thread them on the string.
the fans are also stamped and embossed in silver.  everything else is stamped with black archival or raspberry adirondak which I also used with a water brush to colour in 

Thanks for stopping by 

Monday 11 March 2013

Play time with Stella

On Saturday my friend Stella came around and we had a lovely play and this is the card  we each made so I thought I would share it with you.  It was inspired by a picture in craft stamper magazine issue 58 and featuring the free stamp that came with January 2012 free stamp from redhead designs.


I thought that this wood be good for Stella to practice her techniques so we started with a brayer and coloured a white piece of card with cloudy blue. (technique 1) then we used some masks and inked through with stonewash (technique 2) we stamped the Clarity new design stamp  across the top and further down and then we randomly stamped a script stamp from Indigoblu and parts of a stamp that came on a set with the handbag and glove from the creative stamper magazine.  We used archival black for the stamping. (3) Then out came the GC and spellbinder resplendent rectangles and cut some shapes (4)
we took the smallest rectangle and left it in the die and inked around the edge with a blending tool (5)
Inkylicious brushes were used to distress in denim around the other two rectangles (6)
we then stamped the Clarity HAPPY BIRTHDAY TO YOU stamp and added the gloves and handbags.
we stamped the lady and coloured with promarkers (7)
stuck it all together matted and layered on navy blue and then onto white base card.

We had a great time with lots of cups of coffee and laughs - the room was a right tip and in the midst of it all my niece came to collect a card that she asked me to make for Mother's day ... lol.

Thanks for stopping by off to do some more crafting now.


Saturday 9 March 2013

Gentleman retirement card

God Morning - I can't believe where this week has gone. It has been a bit quiet on the crafting front this week for some reason.  Took OH out for a run in the car on Monday as I had been at the craft fair all weekend.
I don't actually know what I have been doing this week apart from catching up on a bit of that hazardous activity... housework.  yuk.
Oh I have just remembered . I went to Inspirations on Wednesday and watched Hels Sheriden and Ali Reeve which was a very interesting day. (I also nipped over on Friday morning as it is just down the road from where I do my food shopping but didn't tell OH so couldn't stay too long) but it was good to see Nikky Hall she had the new graphit pens oooo nice but already got so many propmarkers can't justify the change!

Anyway it got to Thursday and craft club day, my friend Margaret wanted to "borrow" my clock stamps so decided I would do an order i had for a retirement card with clocks.  So I loaded my truck , cuttlebug, spellbinders cogs and plain circles my Kanban clocks and cog stamps. Clarity miniature men's kit ..it has a small watch fob, my Indigoblu clock set and a round stamp for retirement which is either Lily of the Valley or  Little Claire I think,  and off we went.

Got everything and set to to discover that I had left the main ingredients behind... the Clarity fob watches so we had to improvise and this is my result.

Thanks for visiting !


Saturday 2 March 2013

More Easter Bunnies


Hi All  I am sat here behind my stall at the Vintage and Hand Made Craft Fair here at the Winter Gardens in Blackpool.  The sun is shining through the glass roof and lots of people are milling about - not buying but lots of lookers!
There are lots of young dancers around - there is a ballroom dancing competition going on in one of the other halls.

I brought my lappy so whilst I am sat here I thought I would blog a couple of quick cards I made on Thursday.


both cards are made using the ATC size Stamp and the remountable Bunny set 

The top card also uses a tree and the bottom one uses the small tree from the village set and the little flock of birds 
The Happy Easter stamp was borrowed from a friend.

I stamped the stamp stamp and masked off the outer area using  I stamped the bunnies and then masked them off. using a sponge I created the background and sky.

The banner was made by masking off a strip, stamping and then bringing a little colour from the edges.


Friday 1 March 2013

Anything Goes

Hello bloggers and friends I am so excited to be able to announce that I have been invited to be on the  design team for the 


 It is such an honour and I just hope I can do it justice.

From the 1st March there will be a monthly challenge on the Clarity Stamp  Challenge blog that will be an electronic version of the New Designs Club monthly challenge.  So here goes this is my first card.

As the theme for the first blog challenge is Anything goes I thought it only fitting for my very first post that I would use the very first stamp I bought from Claritystamp.  She is called Topaze and is a lovely muse. 


I also used
Spellbinders resplendent rectangle
Memory box Fauntleroy Crest
Distress inks - milled lavender, dusty concord
Adirondak - Slate
promarkers
pearlised card in  white, pale and darker lavender
some pearl gems.


I stamped cut and coloured her out, distressed the edge and brought the colour around her head, then mounted onto the shapes. in contrasting colours. ( the middle layer is a faux of the outer one I just cut around the embossing line.
I made a strip for the other side and cut around the top layer with a fancy blade on my trimmer, added the memory box die and the pearls.

The main background for this card took quite a long time. the bottom of the stamp is made up of twigs and berries. but around the stamp is a frame.  I wanted to use just the folliage without lines and without the lady.  I started by turning my stamp over and putting a piece of tape across the back  where the bottom of her dress finishes. This was so I could line up the top of the stamp.  I masked off a row across the background top and bottom and by working along with two post its I just kept stamping (in slate) keeping the dress and the border of the stamp onto the masked off areas. as you can imagine this took quite some time.  I then coloured in to match the main image.

I hope you like it and give you some inspiration.

Thank you for visiting my blog and hope you will come back again. I do try to blog most of the stuff I make and you can follow via email if you prefer.
Happy Crafting.... Linda xx