Good morning. I thought I would test out a new app I have found let's see if it's any better !
I was demoing at Burneside garden centre near Cleveleys last weekend so I thought I would share this with you. I had some ladies that came and stayed most of the day and in the afternoon one lady asked how had I coloured one of my samples. So I took a piece of 6 x 6 centura pearl white and embossed with the flutterby embossing folder. Ran over it with a brush and faded jeans...simples and gives a lovely effect.
Another lady asked to see the Angel related a card die....mmm that doesn't match the piece is have just embossed! Not to be beaten I cut some snowflakes and the snowflake border and used these to hide the butterflies!!
I took and 8 x 8 card and folded back the front which I covered with paper from the festive pad and covered the inside with the same paper.
I cut Merry Christmas and inked through the die with a blending tool. The was for the greeting inside.
I then cut the angel and again inked through with faded jeans.
I put the angel in the middle then I lined up the snowflake panel to hide her.
Well the pictures haven't come where I was expecting but hey ho lol
Tuesday, 20 October 2015
Snowflake angel


Thursday, 1 October 2015
Stencils
OCTOBER
Really! already! still not started my Christmas cards but hey no not to worry
Have you been enjoying the lovely weather this week- it soooo nice not to have rain (we get an awful lot of rain where I live).
I had a fabulous time at the open day in Catterick got to meet up with lots of friends who I don't get to see very often and eventually got to meet Sally-Ann and Emma that was really nice. I bought a whole load of stuff (no surprise there then) and all in all was had a thoroughly good time. Here's hoping that the team come back again next year.
Next on the Agenda is the Happy stampers show this Saturday in Port Sunlight - I love this show - 99% of the stands are stamping - it gets packed ...and I mean packed ...it gets hot ...and I mean hot but I just love it. I also like going to the Harrogate show but sadly for the last few times it has clashed with Port Sunny so I haven't been.
Looking forward to Saturday and seeing lots of friendly faces - as usual I will be going for a bacon butty across in the Social Club before the show opens - so if you are around see you about 9.45 for a cuppa?
So back to the challenge in hand - we had some lovely entries again in September and some really cool ideas on shaped cards. Not so many entries as normal - maybe everyone's been busy with back to school/Uni and late holidays for those of us who like to go away when the chillibeans are in school!
It was still hard to pick my top five though - so many clever crafters out there.
I have a stencil project for this month's theme and I have to say my mind went a complete blank. Why does mr Mojo decide to go on holiday when you want him?
In the end I decided to keep it simple and just use this abstract stencil - I was late on patrol buying this one - for some reason I must've have missed it when it was first introduced. I had the two other abstract stencils but not number three , however I did rectify it as soon as I spotted it! It is number 3 and is more rectangular than the other one. check it out - here is the link
I simply brushed through with faded jeans then added dusty concorde around the edges.
I used the wee folk Christmas sets and stamped in deep purple Archival

I went over the word chain with a glitter pen but I am totally rubbish at taking photos and the colours and sparkle are much better in real light
Quite a quick card to make - I might even use it for my cards this year! I look forward to seeing what you all come up with and do visit my teamies blogs - they have some stunning pieces to share !
If you are going to Port Sunny - give us a nudge .
Tuesday, 1 September 2015
SHAPED CARDS
SEPTEMBER!!!!
Before we know where we are Christmas will be here - I haven't made a single card yet - yikes
The bingo challenge last month threw up some fantastic entries - I wonder who will win - I know it was extremely difficult to pick my fave 5.
So to this month's challenge - Shaped cards - what to do - what shape to use - should I use a die - got plenty of those - or do I take my inspiration from the lovely parchment box that was on Emma Burns blog recently - oh she is one very clever lady - I know my work with parchment is not in the same class as Emma's - it isn't even in the same school lol but I liked how she used the groovi system to create her shapes so here is my effort.....


I transferred the pattern from the border plate and in the bottom two corners I switched it around to make more of a flower (and fill the gap).
I also did the same trick with the nestie groovies to form an arch in the middle then I marked the central line and split it into three to give me a guide to line up the letters. ( I did it in pencil so I could rub it out after)

As an aside I have also used the tiny square from the nestie groovi plate to mark out like the larger squares on the groovi mate - it is the perfect size for these small letters

So now this is where all my best laid plans go pear shaped because I forgot to take any more pics Doh
Next I transferred two of the flowers from the blooming peonies plate and then I added a third in the middle - behind. I also did two more on another piece of parchment so that I could cut out and layer up.
Behind the best wishes I used bits from the Christmas tree to fill up the space - just randomly
Finally I used the Netting plate to create a background.
I used a star embossing tool (borrowed from a friend as I haven't got lots of stuff....yet!) i just did it by eye.
I did a little embossing from the back and no 15 speccie pencil from the essential set. I also coloured in the parts of the border that I hadn't embossed so I could hide the bits of red liner I used to stick it down.
I thought it may be useful to show you the plates I used


Sunday, 9 August 2015
paper basket
On Saturday I went to have a play with some girls who are all part of an fb group that like craftwork card papers etc - the Lancashire arm of this group have started meeting every other month in my local town for a get together .
This Saturday we did three projects - each one led by a member of the group and I was asked to come up with something for us to do, and the reason for this post is that some ladies couldn't make it but liked the basket and have asked for instructions.
Now I saw this basket somewhere on the internet ages ago but sadly I cannot credit the original designer as its so long ago I have forgotten but this is my take on it.
I have used craftwork cards paper and candi velvet plum (currently a sale on!)
and a selection of beautiful paper flowers from Sweet Lilac Flowers check out their box deals - really good value


This basket part of this can be made from either 2 pieces of A4 or one piece of 12 x 12 ---or a piece of A£ cut to 30 x 30 centimetres.
All measurements are in centimetres


Take a piece of a4 card stock and mark at half way along the long edge
Turn and score at 10 cm
Turn and score down to previously scored line at 3, 6 and 9
Flip card over and repeat above
Cut down the scored lines and cut off 1 cm from strips abc & d
fold along the dotted line
Make two of these - if you are using one piece of card just turn the whole thing round 180 degrees and mark the other side the same
Then stick one on top of the other.
Next add your fancy paper - I used a paper trimmer with a fancy edge
when you are ready to assemble fold up the sides apart from the triangles and stick E to E allowing about 1cm over lap.
bring pieces d together behind and stick these then the final two pieces b
At this stage it will look a bit untidy.
I cut two cirlces from card and two smaller circles from paper and used these to cover up the workings.
I cut a handle and added paper to that too and attached to the circle with a brad. In hindsight I would have cut more circles to cover up the inside of the workings too.
I added lace around the top of the basket, bows and candi to the sides then I made an arrangement of flowers and added them to the handle
Saturday, 1 August 2015
Bingo
Oh MY Word
I think this blog published before I wrote it! I added the photos and set the schedule date but then forgot to come and write the words!!!!
Anyway thanks for all your fantastic entries last month - the winner will be announced on Monday
so Bingo - never done one of these before so you to pick a line , a diagonal or the full house and do a project using these items so this month I picked stamp, stencil and paste, and here is my offering

I was really struggling to think of something to do and then I came across some backgrounds I had done when I had my acrylics out so decided I would just go with the flow

Now I had several attempts - the first one my grunge paste was nearly done but I thought there was enough to do one more - and there would have been if I hadn't got
some dry bits in and it was all lumpy and scrapey lol .
I eventually cracked it with a new jarand ended up with this

When it was dry - the tree was levitating so i added a grunge paste hill. from here on in I forgot to take pictures - oh I am rubbish lol
anyway when it was all dry I decided to colour it with gelatoes and added a few more hills using some paper hills and added shadow with a charcoal pencil
Then I added the stamp in black archival
Its a bit different for me - but you have to try these things lol
Come and join us this month lets see what you can come up with !
Wednesday, 1 July 2015
Anything goes
Happy July - that's half of the year gone already - it's true what they say the older you get the faster time flies
So it's time for a new challenge over at the Claritystamp challenge blog and this is my offering for July

Have you made a cuppa? this post is like war and peace!
Some time ago I went to watch a demo being done by Pauline Wheeler and one of her ongoing projects was this box - she was covering it with some papers she was demoing at the time. It is designed to hold the Tim Holtz mini inkpads - now I have these and I use them when I am demoing so I thought I would get one and do it up my way and this mnth's theme fits the bill perfectly so two birds and one stone!

I decided to make my own papers to cover it with so out came the gelli plate, some acrylic paints and of course my Clarity stencils

I used the large Gelli plate and made several prints

I used the same colour paint sequence
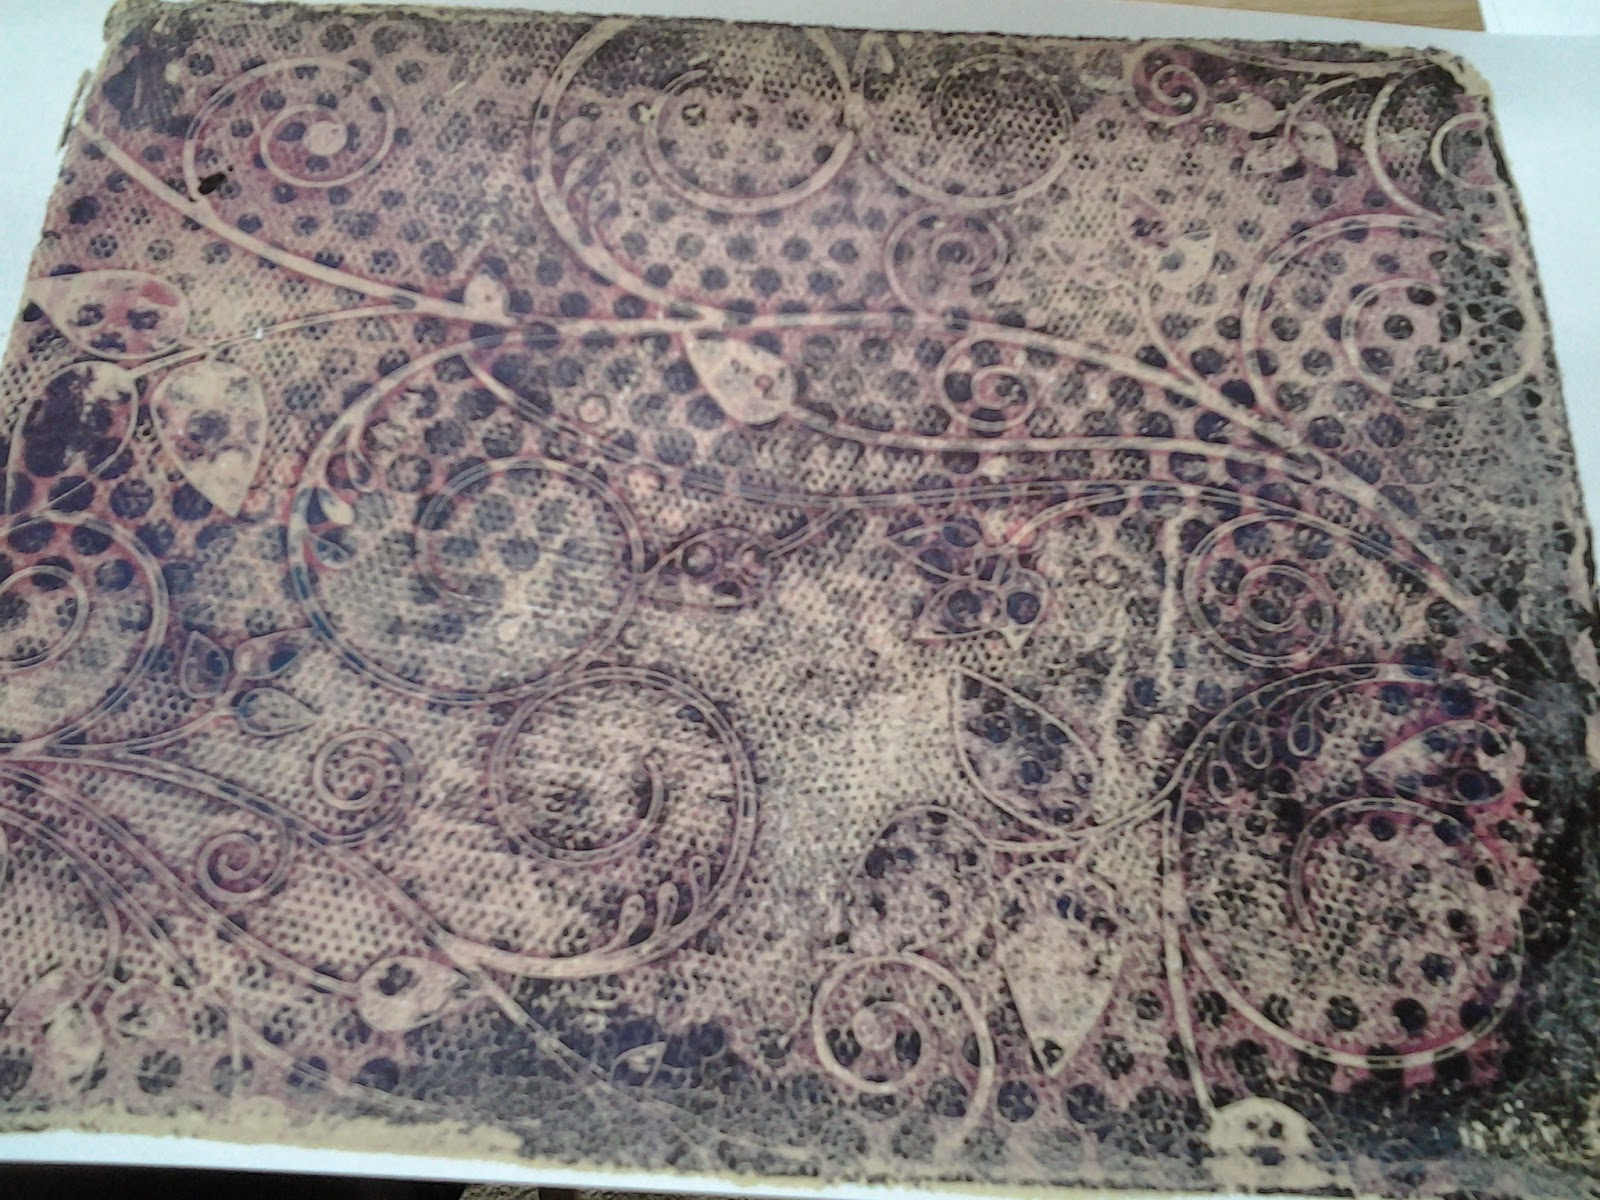
the same stencil sequence

and yet each and every one

was different lol

I covered every section in black gesso - twice, let it dry, then each layer I masked off the edges of the underneath side with some low tack tape and sprayed spray n shine from Crafters companion to seal the underneath.

I then proceeded to cover the surfaces with my gelli prints, then I added a bit of black soot around the edges

I wanted to add a bit of something else and decided to put some words on the front so using my letterpress word set and some tissue I stamped out the words

cut around them and then stuck them on the front of the box

I then used a sealer with a brush to seal the insides of the box - I didn't want to use the spray as it would get on the outside of my box which I didn't want to be particulary shiny

On the lid I added some metal corners that I picked up in that craft shop near Glasgow airport when we were on holiday. I used some purple guilding wax on them - but it was a bit bright so toned it down with black acrylic paint

Job done , put my ink pads in and there is room for more yet and the bottom one is a bit bigger so I will store an archival black and a versmark with a couple of blending tools so all my stuff will be in one box!

finished - quite chuffed with how it turned out

Monday, 1 June 2015
BOYS
I do not know why but I really struggled with the theme this month - I think really I just had too many stamps to pick from and too many ideas going around in my head so in the end I just decided to go with whatever ended up on my piece of gelli card!

I forgot to take pictures this month as I was going along but basically I did a gelli print with the brick wall stencil. ( paper artsy chalk paints) I wanted it to say boys will be boys but I wanted something that the boys could be hanging from or sitting on and in the end I used the random shapes that are on a new design club stencil and some grunge paste. I stamped into it whilst wet with BOY from the word chain set no 10 and an S from the same set. - Put your stamp into water straight away though! I used the new wordpress letters for the other words.
I masked off the birds and strings from the boy and birds stamp and hung him off the edge the jumping boy is from the wheelie men and boys stencil and the other boys are from the wee folk set
I coloured in the stamping in the grunge paste with a brown spectrum aqua pen
Subscribe to:
Posts (Atom)