Sunday, 25 May 2014

Working with Stencils


morning all - just thought I would share a few samples with you. My next workshop is on Saturday 7th June at the craft range - there is a link on the side bar if you would like to book a place.  We will be using stencils and dye based inks.

I


Friday, 16 May 2014

Fairy workshop

Hello everyone, I hope this post works as I am trying to do it from my tablet as my lovely lappy is poorly sick and has gone to see if she can be mended.

Just thought I would show you the cards we will be making on Wednesday 21st May over at the craftrange class is 10.30 -12.30

Thursday, 1 May 2014

It's all about the words


Good Morning all - Where did April go then, it certainly went by in a flash but not so fast that we didn't have lots of fantastic entries on the Claritystamp challenge blog - Oh so many for the monochrome theme a very difficult choice to pick my favourite 5 - glad the winner is picked at random by computer!

So why not join us this month - you too could be the winner of a lovely voucher to spend on the Claritystamp webiste  - then you would have a difficult choice to pick what you would like from all the fantastic stuff on there!!

So the challenge for May is all about words.  The original theme was going to be song titles and in my head I knew what I was going to do ...but then we changed it to words and I was stumped.


After much debate with myself this is what I eventually came up with


I started with a gelli print from my stash of prints from my big plate.

I know that the plate is rectangular and I like square pieces to work with but sometimes the 6 x 6 doesn't seem big enough.  So not long after I got my gelli plate I came up with an idea for making it square.  I drew around one side of my gelli and around the corners onto a piece of plastic I cut from one of the plastic wallet  document holder jobbies.  I then made it the right width to leave a square on the gelli plate.  


I put it on the side of the plate before I add my paint and stuff and simply whip it off before I pull the print 

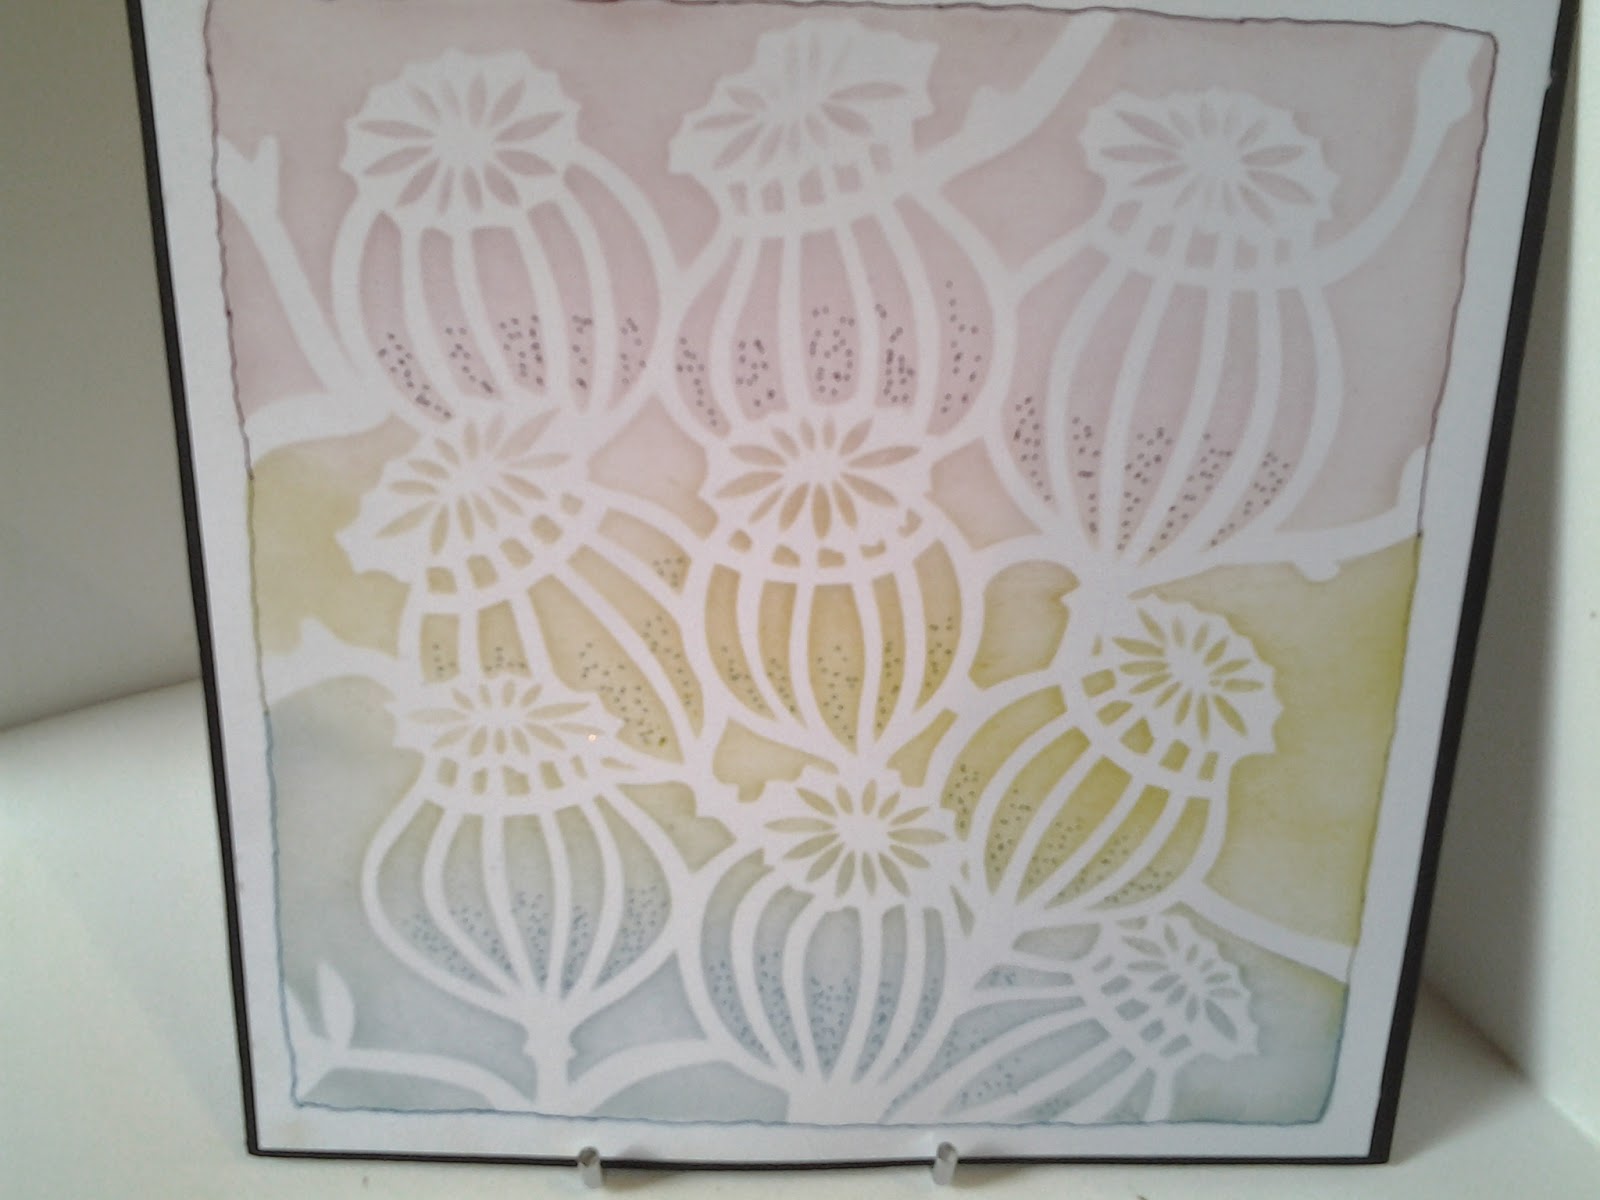
Anyway back to the challenge  as I said I started with one of those prints you have in your stash but I wanted one that had lots of white still left on.  I then added lettuce adirondak using my stencil brushes 
You can't really see it on the photo - you won't believe how many photos I took at various times of the day and in various places and you still can't really see the green! David Bailey I definitely am not lol.
So anyway trust me its mostly brown with some green on!

I got my inspiration from a chart I saw from made up of words - it was one of those stupid Facebook things and it picked up the words I used most on my comments so that's what I will do - I thought to myself!  But felt it would need a saying on top - took me ages to think of something - it came to me in the middle of the night!

I stamped some of the words from the word chains on to some copy paper and then cut around them to make masks - I sprayed them with stick n spray to make them re positionable and started laying them out on my background until it was full. I laid some horizontal and some vertical.  When I was happy with it I removed one stamped the same word in its place then went onto the next one.  I used fern green and sepia archival inkpads to do this - I obviously did all the green first then all the brown ones.

I used my letterbox set  to stamp out all the little boxes in the sepia archival  on a piece of white card.  I used my brushes to colour the card with old paper I stamped the letters again in sepia then cut them all out leaving a small border.  I added some of the lettuce with a blending tool and then mounted the tiles onto brown mats.  I stuck them on top with foam pads to lift it up.  I matted and layered onto brown and cream - job done.

I hope you decide to have a go this month as I can't wait to see what everyone else comes up with .


Monday, 28 April 2014

my chocolate house box

If you are on Facebook you will probably know that I have been working on this box.  if not --I went to Kendal  on Saturday and in the old Chocolate House shop window there was a lovely box of chocolates - however it was the actual box that caught my eye and so I spent yesterday afternoon working out how to make one so after I had sussed it out I thought I would then create a sample for my up coming demonstrations for Crafters Companion  I thought I had taken a picture on my phone of the original box but sadly I can't find it .
  
Here is the top of the box - I made it all with centura pearl cardstock  


So how did I work it out?  back to school and a compass ---I drew a circle onto the back of the card and if you all remember you then use the compass at the same size to mark off around the diameter.  join up the dots and you have a hexagon 


the box had two layers that open out with a lid.  With the Ultimate pro, to make a box you start off with two pieces the same size - one for the lid and one for the base, now in this case because I wanted to add an extra layer of card around the outside of the base ....I cut the two bases the same size as each other but slightly smaller than the lid ...I just set the compass every so slightly smaller.

I used the same size on to two sheets of paper ( that I printed off from the cd that came with the latest crafters companion magazine) to line the boxes.  I cut a piece of card the same height as both the bases and long enough to go all the way round  I marked off where to score the lines then stuck the bottom layer to the bottom of the side panel on three edges then I stuck the top layer to the top half of the side panel on the opposite three edges

I added some panels on the bottom half of the side panels with some more white centura pearl  embossed with a butterfly embossing folder.  I added a bit of lace some little fabric flowers and some pearl dots.


Sunday, 20 April 2014

Sapphire Wedding Anniversary

I am on a roll aren't I three posts in three days lol


I hope you are all having a fantastic Easter and for those of you that like them - lots of Easter eggs!

I had a lovely day yesterday, firstly I went off to see one of the other members of the Crafters Companion demonstrator team doing her first demo - it was great to catch up as we are spread all over the country!  

Then I went to my friends for a crafty afty with Cindie Cooper and Stella Wilkinson over at Cindies house.  Whilst I was there she was showing me her new Tonic dies and as I have been asked for a Sapphire wedding anniversary card  it seemed only fitting that I should borrow them - well it would have been rude not to  and I did take her some butterfly dies of mine for her to play with.

That's what I like about crafty friends - it's all about sharing - not just knowledge and tips but each others stash!

Anyway this is what I came up with - I used an A4 embossing folder  with little hearts on from Creative expressions on pearlised card.


The pearl card will not go through my printer so I printed on pearly paper - best quality print and added silver embossing powder as the printer was spitting it out.  I then stuck this down on card before cutting them out.  I did the same for the box lid.


I cut some leaves with a spellbinder die and added some sweet lilac flowers 


This is the box Lid .

Enjoy what's left of the Easter break and don't eat too much chocolate - well you can if you like I won't say a word xx


Saturday, 19 April 2014

Christening s

Morning all - it  must be the time of year but I have been asked for several Christening cards this month so I just thought that I would share them with you .

Have a Super Saturday 


Most of them are of a similar theme using spellbinder dies 
some were for girls


and some were for boys
this last one uses a LOTV stamp - I do love it for christenings


Friday, 18 April 2014

faux leather box

Hello - it's me I am still around - did you think I had disappeared?

Whilst I am waiting for my demo kit to arrive from  I thought I thought I would have a play with the faux leather technique and a Sheena embossing folder that comes  with the Spring Inspiration magazine from Crafters companion.

I opened a cupboard (full to bursting) and a box lid fell out so I routed about and found the bottom half - one of those nice square boxes with a separate lid from the MDF man.  So  I thought I would combine the two and maybe use it as a sample on my demo table.

In order to do that though I had to line it with something also from Crafters Companion and with the same magazine are a couple of DVD and on one I found a vintage floral paper - just right for the job.


I painted the box with gold acrylic paint, crackle glaze and burnt umber for the top coat .


I used vintage photo, forest moss and aged mahogany distress inks for the "leather" and inked the paper with the same.

I cut the card to size before I transformed it and I also did the scraps too - I have used some of these to cut out some flowers to decorate the lid and added some metal embellies from my stash 
Added a bit of guilding wax on some of the edges too - I quite like it .