Friday, 29 May 2015

gelli card for a friend

 Hello there this is a card I made for a friend after I had watched Sam Crowe's you tube video about using two gelli plates at once.  I had a great afternoon practising and this was one I just had to use for this card.

I just love all the grunginess of it .


I used Amanda Branston's design for Claritystamp of a Shepherds purse.

It is an open stamp set so I stamped with vanilla chalk paint from paper artsy then I used the same paint to fill in the petals. 


When dry I over-stamped again with black archival. trimmed back and matted and layered a couple of times

Wednesday, 27 May 2015

happy 60th


Simple card for an order


Sweet lilac flowers
Memory box hexagon
Pink frog butterflies and leafy swirl
Crafters companion embossing folder - vintage range
crafters number dies
Britannia happy birthday dies


Box to go with and space to write recipients name 


Tuesday, 19 May 2015

Drummer Boy

I have found a new app for blogging from my android tablet.   If anyone knows of any good ones I wish you would let me know.   Any way I thought I would try to create a post.

I was asked to make a card for a certain boy turning 16, a drummer in a band and shecwanted his photo on.  I only had the passport photo to work with.  I had a drum stamp, a freebie yonks ago on creativestamper magazine. The front of the drum had "rock" on it where i wanted to put tge photo and the whole thing wasn't big enough.

I wasn't to be beaten though so furst job scan in the photo. Secondly I stamped tge image in black archival and scanned that in.

Next I opened up serif and added bith the pics.   I took the photo cut out studio, outlined just his head tgen exported as a picture then brought that picture back into Serif so that I could resize without any background.

Next to the stamped pic.  Firstly I made it bigger so I could see  what I was doing.  Again using cutout studio I cut out the whole of the front of the drum.  Then I used the tool create a frame and dragged it into the frame section.   I now had all the various elements so I cleared the workspace dragged on the newly created drum frame, I then added the photo into the frame and resized to fit.

I sized the whole thing to a size that would look right in the hexagon die.

Happy with it I printed out onto cardstock .

I used a blue glue pen on the chrone bits of the drum set and silver embossing powder.  The drums and symbols were coloured with SN pencils.

I used a music embossing folder, some hexagon dies the hexagon shapes for the letterbox kit which I also used.  I found a small happy birthday stamp and the numbers from another set of stamps.

Friday, 1 May 2015

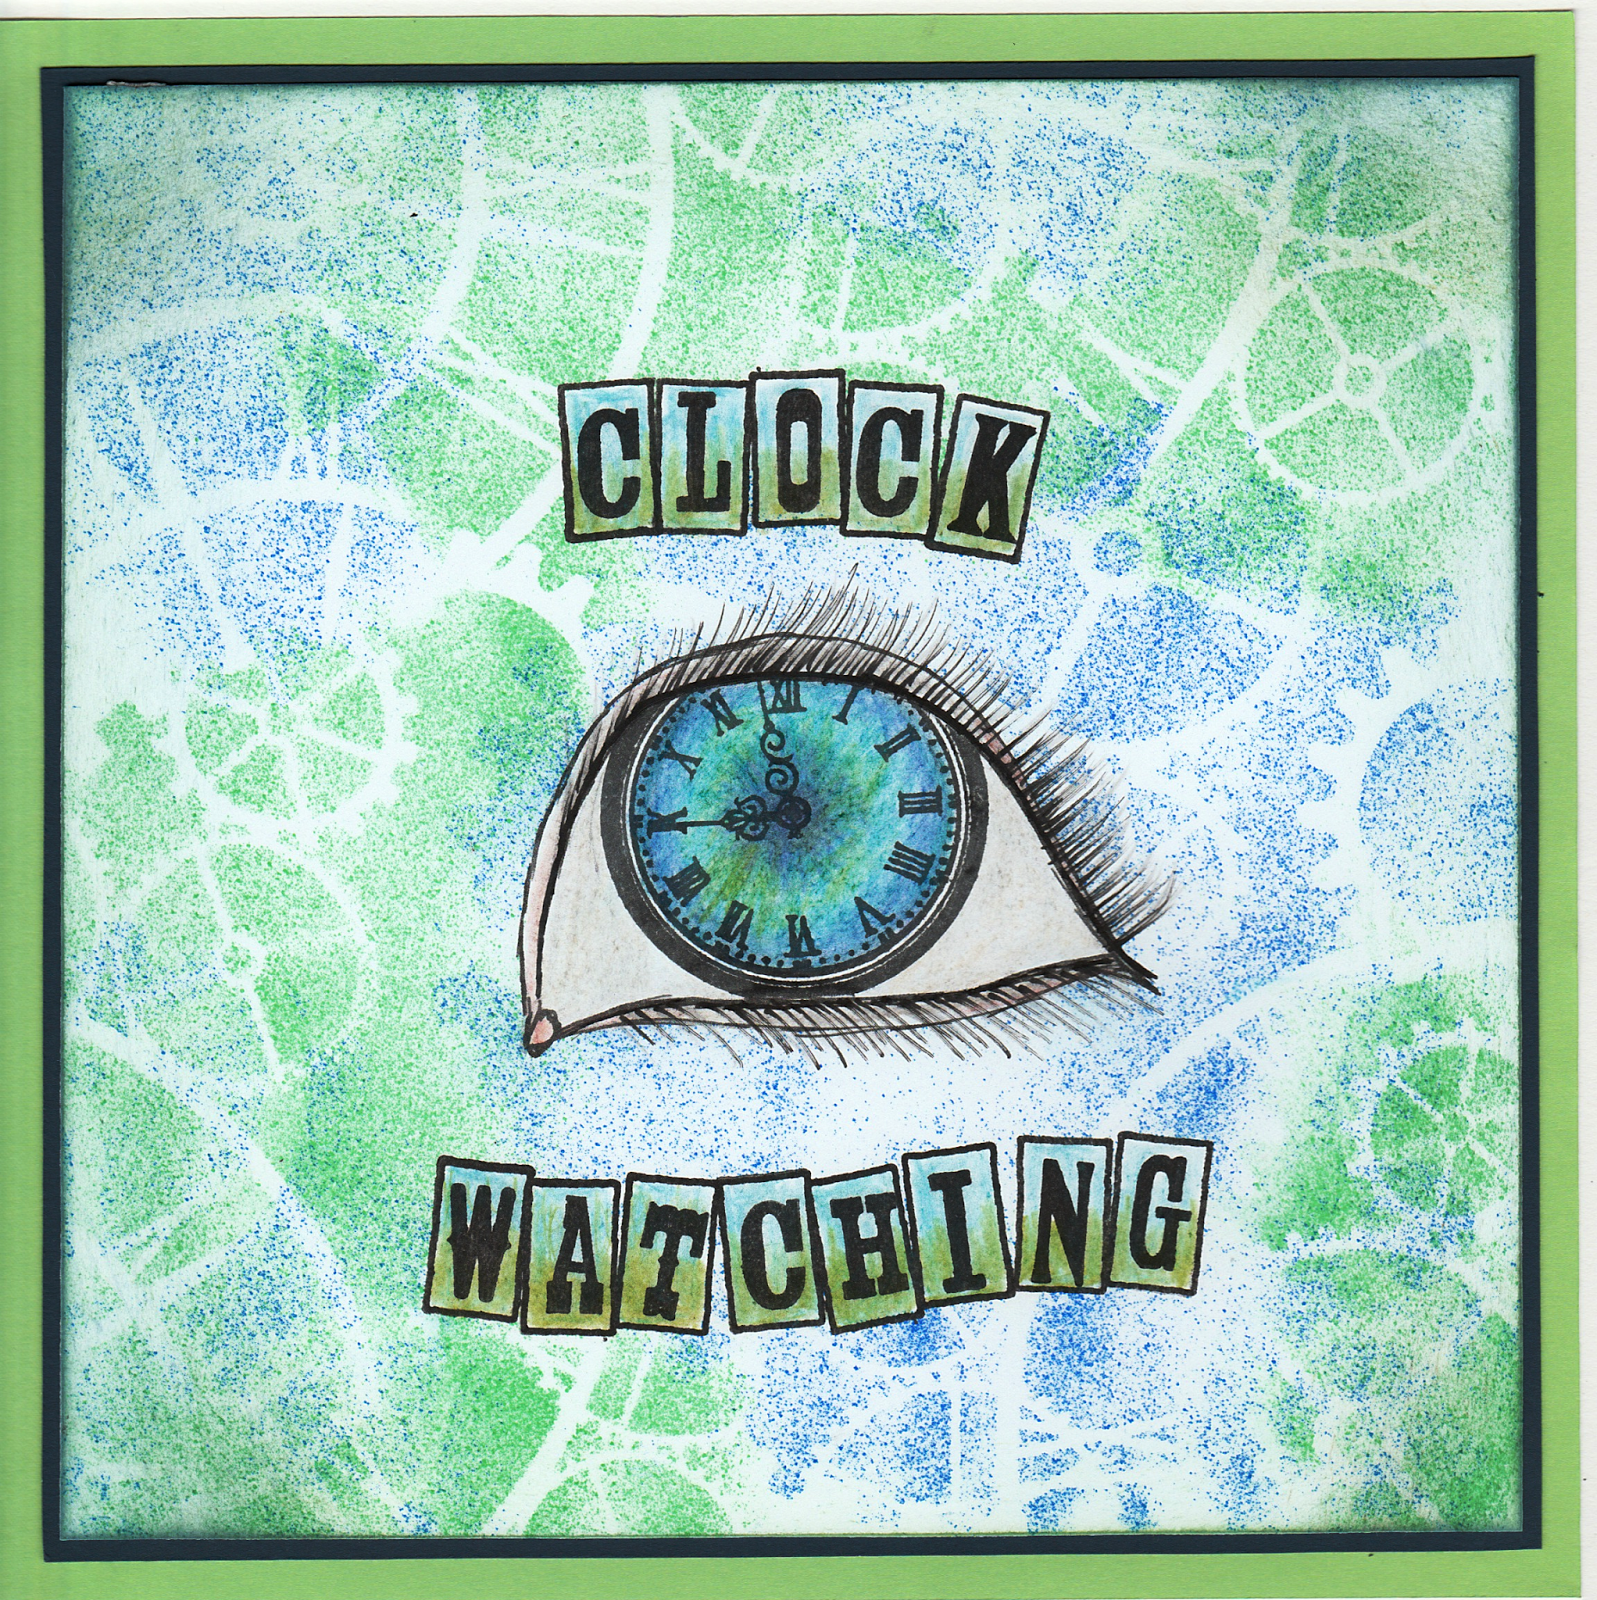
Clocks

Good morning and welcome to MAY! the last four months have just flown by and haven't we had some lovely weather last month - I hope that wasn't Summer and that the nice weather is over ---as I write this it's raining - back to normal lol.

Lots of fabulous entries again last month - the wee folk sets are very popular I do love them.  So the theme for this months challenge is clocks - now this has caused some scratching of heads (mine included) amongst the dt  I have an mdf package I was thinking of using ( I am not telling you what it is but it will probably turn up at stome stage lol) but Emma was first in with a box  I thought about getting some clock parts - noo several of the team have done real clocks - rapidly running out of ideas now till I came up with clock watching.  I thought I would be brave and try and draw an eye with the eyeball as a clock - my backup plan was to use the big glasses instead of my drawing.


I had to get the eye the tight size for the fob watch stamp to work as an eye ball.  I have all the fob watches and the sideways on ones but the wee one (from the miniature set) was way to small, the medium size one wasn't really big enough so I went with the big one.  I stamped it out to make a mask


I cut it out ignoring the stand and the handle.

I then used this to draw around in pencil


Next I had to draw my eye and after a few attempts and a lot of rubbing out I got this.


What if I make a mess? - I thought ... So I went around the eye with a micron pen - excluding the eyeball and then I photcopied it onto a piece of gellie card.

Haha I can now use this and if I make a mess I can do it again - cunnng plan eh?

I used another photcopy on copy paper to cut out the eye to make a mask to stam throught the clock - because if you look at an eyeball the top is hidden under the eyelid.

OK so far, next I stamped out the boxes from the new letterpress set and masked them off. I used the clockwork stencil randomly and using my spectrum noir aqua pens (peakcock blue and Sea green) and the e brush to create the background - I didn't tape the stencil down I just kept moving it about as I didn't particularly want a definate background just a hint of parts.


I used cracked pistachio and faded jeans around the edge with my Clarity brushes.

I stamped the letters in black archival 

I used several pencils from the essentials and marine sets to create the eyball and added shading in the boxes.
Finally I added some eyelashes with a micron pen


Wednesday, 1 April 2015

Wee folk


April - already?  where is this year going?  It's all flying by a bit too fast for me  I even saw someone had posted a C card on facebook the other day - nooooooooo I want some Summer first.
This month the theme for this month is Wee Folk - how fab I can't wait to see what everyone comes up with - the design team have done some stunners - O I do love all the wee folk - they are so useful  So here is my offering for this month


I tried to create a eerie glow - that's probably not the right word but I know what I mean lol

Anyway I started with my small gelli plate and added squeezed lemonade just in one spot, brayered it out then removed a lot with crumpled paper to leave  a sort of circle then I took a print,
Next I added some dusty concorde and seedless preserve in layers putting down the colour and removing it with crumpled paper each time.  I then created hills on my print with torn paper and my Clarity brushes.

This is my second attempt - the first one I sprayed with stick n spray from a distance and added glitter but I didn't like the result it was too much so this time I made up some gold mica spray with water and gold perfect pearls and sprayed cling film which I then laid on the card, scrunched it up and left it to dry.   You can't really see it on the photos - the top one probably shows it best but I did like the result I got with it.


I then set to with  the fairy sets but I used the tree branch from the bird table garden set
I used some of the stamps from the wee folk fairies and some from the wee folk elves

I stamped everything in black archival but I also embossed the fairies and elf  so in real life they are shiny and blacker so they stand out more.  I just had to add the magical from the word chains - these are invaluable too!  I finished off by adding a few highlights with a white pen.


Tuesday, 31 March 2015

demo day at Crafts 4 U 2 do

This is one of my samples from a Crafters Companion demo day I did at the above shop on Saturday 28th March 


I had a great  day there and several friends came to see me - so that was lovely .

Anyway I made this card to show that you can mix die cut flowers with pre- made flowers as  the shop is home to Sweet Lilac Flowers.

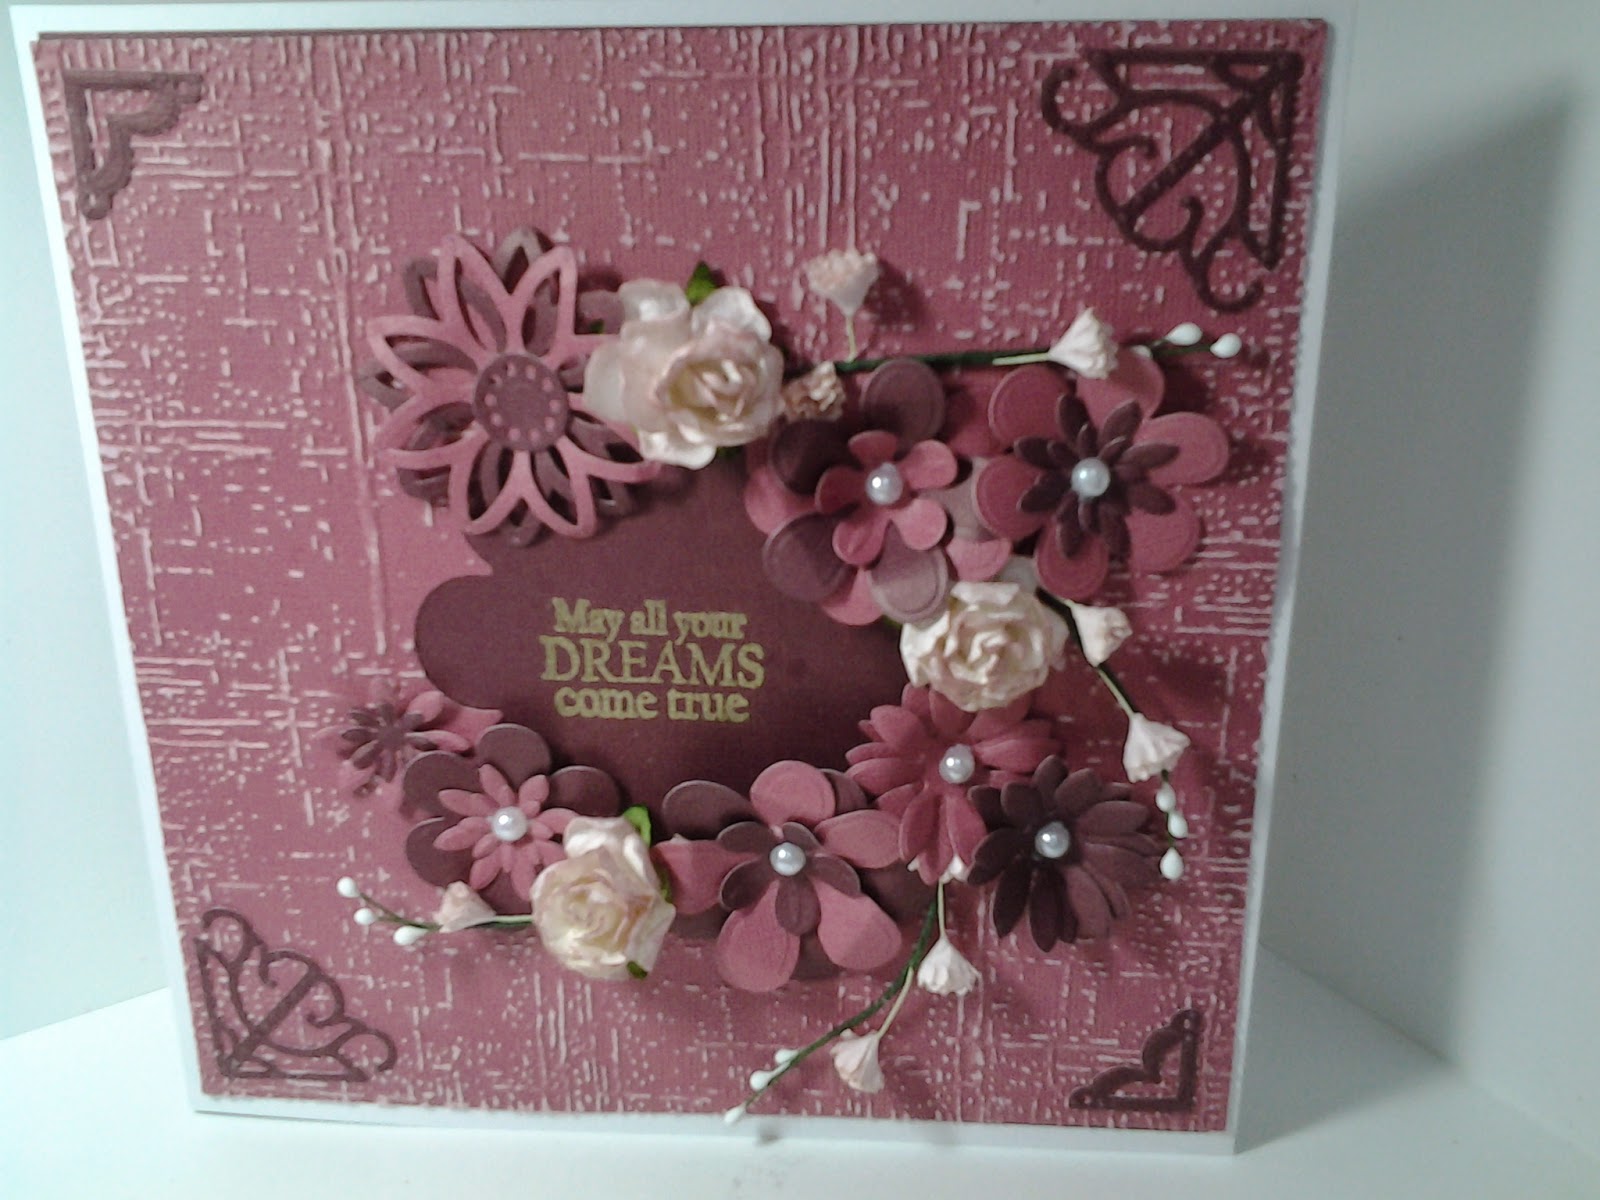
I cut an aperture with a blossom die from the new essentials range from CC into some coredinations card stock then ran it through the distress texture folder. The corners were die cut from the darker colour and the flowers were made  by using  both sets of the new flower essential dies and just mixing them up.  I took some white sweet lilac flowers and used some victorian velvet DI ink on them to tone them with the card.


Monday, 30 March 2015

Christening card

 Would you like a cold?  It's going for free if you would like it!

Well we have had a busy 2 weeks since my daughter arrived for a visit she went home on Thursday and I got up at 3.15 am to take her to the airport but she kindly left her cold germs with me!

Whilst she was home we had young Oliver's christening so my sister and her hubby came up from London so it was lovely to have all the family together.

I thought I would share the card I made for him.

I don't know the make of the embossing folder but I used pearlised  card and brushed with stonewash adirondak ink.  the Church and bunting dies are from Crafters companion and the crosses are spellbinders.   I cut out the church then I drew around it on some more card, cut it out then I coloured the top part in dark grey and the bottom in yellow so that there was a "light" behind the windows  and the roof  had darker ridges
I used the letterbox set to stamp the bunting  .  I have a little on you stamp I have no idea where it came from as I have had it years.  the hristening and ay are from a set that came with a set of large letters from Aly Higginbottom and the C and D are also from the letterbox set