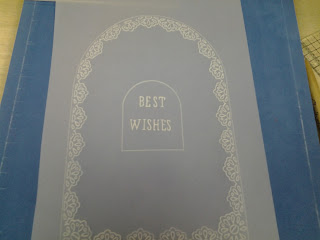
It is a very simple card really.
Hi welcome to by blog a place to see the cards and other random stuff I have made. I hope you enjoy having a look around and thank you for visiting
Tuesday, 1 December 2015
A Christmas Story - Claritystamp challenge blog
It is a very simple card really.
Sunday, 1 November 2015
Clean and Simple
It's the first of the month - so a new challenge on the Claritystamp challenge blog and the theme this month is clean and simple
Easy peasy lemon squeezy.
Anyway to the card in question as usual I forgot to take pictures as I went along.
Firstly I masked off a strip across the card and covered all the rest up with copy paper. Next I made a couple of spray mists wit the colour burst powders in pink and blue and sprayed the middle of the card and left it to dry.
Out with the stamps and and I do like these cute little guys and just the right size to go across the card. Firstly I stamped the flowers randomly, then the birds - I used archival so it would run with the sprays and the pens that are also waterbased. I started to colour in with the speccie pencils - and remembered to take a piccie!!
More colouring ensued but I didn't want to put down lots of colour as that would mean that there would be a big build up of wax from the pencils and I didn't want it to act as a resist .
Finally I stamped Harmony and then went over the flowers and birds with some crystal clear sparkle pen.
I am a rubbish photographer but I hope you can see the glitter on these birds
Tuesday, 20 October 2015
Snowflake angel
Good morning. I thought I would test out a new app I have found let's see if it's any better !
I was demoing at Burneside garden centre near Cleveleys last weekend so I thought I would share this with you. I had some ladies that came and stayed most of the day and in the afternoon one lady asked how had I coloured one of my samples. So I took a piece of 6 x 6 centura pearl white and embossed with the flutterby embossing folder. Ran over it with a brush and faded jeans...simples and gives a lovely effect.
Another lady asked to see the Angel related a card die....mmm that doesn't match the piece is have just embossed! Not to be beaten I cut some snowflakes and the snowflake border and used these to hide the butterflies!!
I took and 8 x 8 card and folded back the front which I covered with paper from the festive pad and covered the inside with the same paper.
I cut Merry Christmas and inked through the die with a blending tool. The was for the greeting inside.
I then cut the angel and again inked through with faded jeans.
I put the angel in the middle then I lined up the snowflake panel to hide her.
Well the pictures haven't come where I was expecting but hey ho lol
Thursday, 1 October 2015
Stencils
Tuesday, 1 September 2015
SHAPED CARDS
As an aside I have also used the tiny square from the nestie groovi plate to mark out like the larger squares on the groovi mate - it is the perfect size for these small letters
Sunday, 9 August 2015
paper basket
This basket part of this can be made from either 2 pieces of A4 or one piece of 12 x 12 ---or a piece of A£ cut to 30 x 30 centimetres.
All measurements are in centimetres
Saturday, 1 August 2015
Bingo
Wednesday, 1 July 2015
Anything goes
Have you made a cuppa? this post is like war and peace!
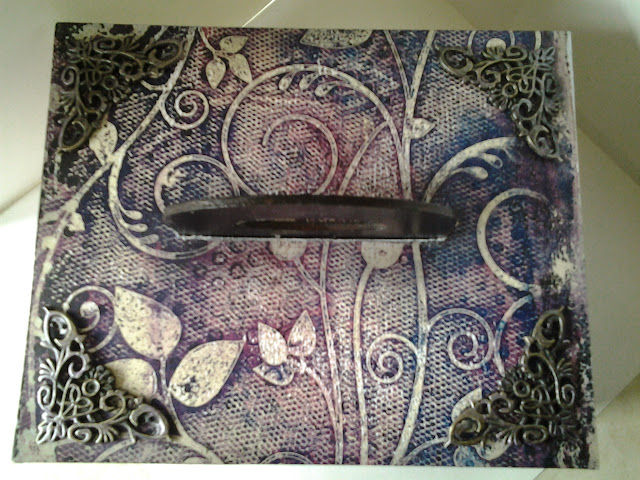
Some time ago I went to watch a demo being done by Pauline Wheeler and one of her ongoing projects was this box - she was covering it with some papers she was demoing at the time. It is designed to hold the Tim Holtz mini inkpads - now I have these and I use them when I am demoing so I thought I would get one and do it up my way and this mnth's theme fits the bill perfectly so two birds and one stone!
I covered every section in black gesso - twice, let it dry, then each layer I masked off the edges of the underneath side with some low tack tape and sprayed spray n shine from Crafters companion to seal the underneath.

I wanted to add a bit of something else and decided to put some words on the front so using my letterpress word set and some tissue I stamped out the words
Monday, 1 June 2015
BOYS
I forgot to take pictures this month as I was going along but basically I did a gelli print with the brick wall stencil. ( paper artsy chalk paints) I wanted it to say boys will be boys but I wanted something that the boys could be hanging from or sitting on and in the end I used the random shapes that are on a new design club stencil and some grunge paste. I stamped into it whilst wet with BOY from the word chain set no 10 and an S from the same set. - Put your stamp into water straight away though! I used the new wordpress letters for the other words.
I masked off the birds and strings from the boy and birds stamp and hung him off the edge the jumping boy is from the wheelie men and boys stencil and the other boys are from the wee folk set
I coloured in the stamping in the grunge paste with a brown spectrum aqua pen
Friday, 29 May 2015
gelli card for a friend
Wednesday, 27 May 2015
happy 60th
Tuesday, 19 May 2015
Drummer Boy
Next I opened up serif and added bith the pics. I took the photo cut out studio, outlined just his head tgen exported as a picture then brought that picture back into Serif so that I could resize without any background.
Next to the stamped pic. Firstly I made it bigger so I could see what I was doing. Again using cutout studio I cut out the whole of the front of the drum. Then I used the tool create a frame and dragged it into the frame section. I now had all the various elements so I cleared the workspace dragged on the newly created drum frame, I then added the photo into the frame and resized to fit.
I sized the whole thing to a size that would look right in the hexagon die.
Happy with it I printed out onto cardstock .
I used a blue glue pen on the chrone bits of the drum set and silver embossing powder. The drums and symbols were coloured with SN pencils.


