Monday, 15 December 2014

play time

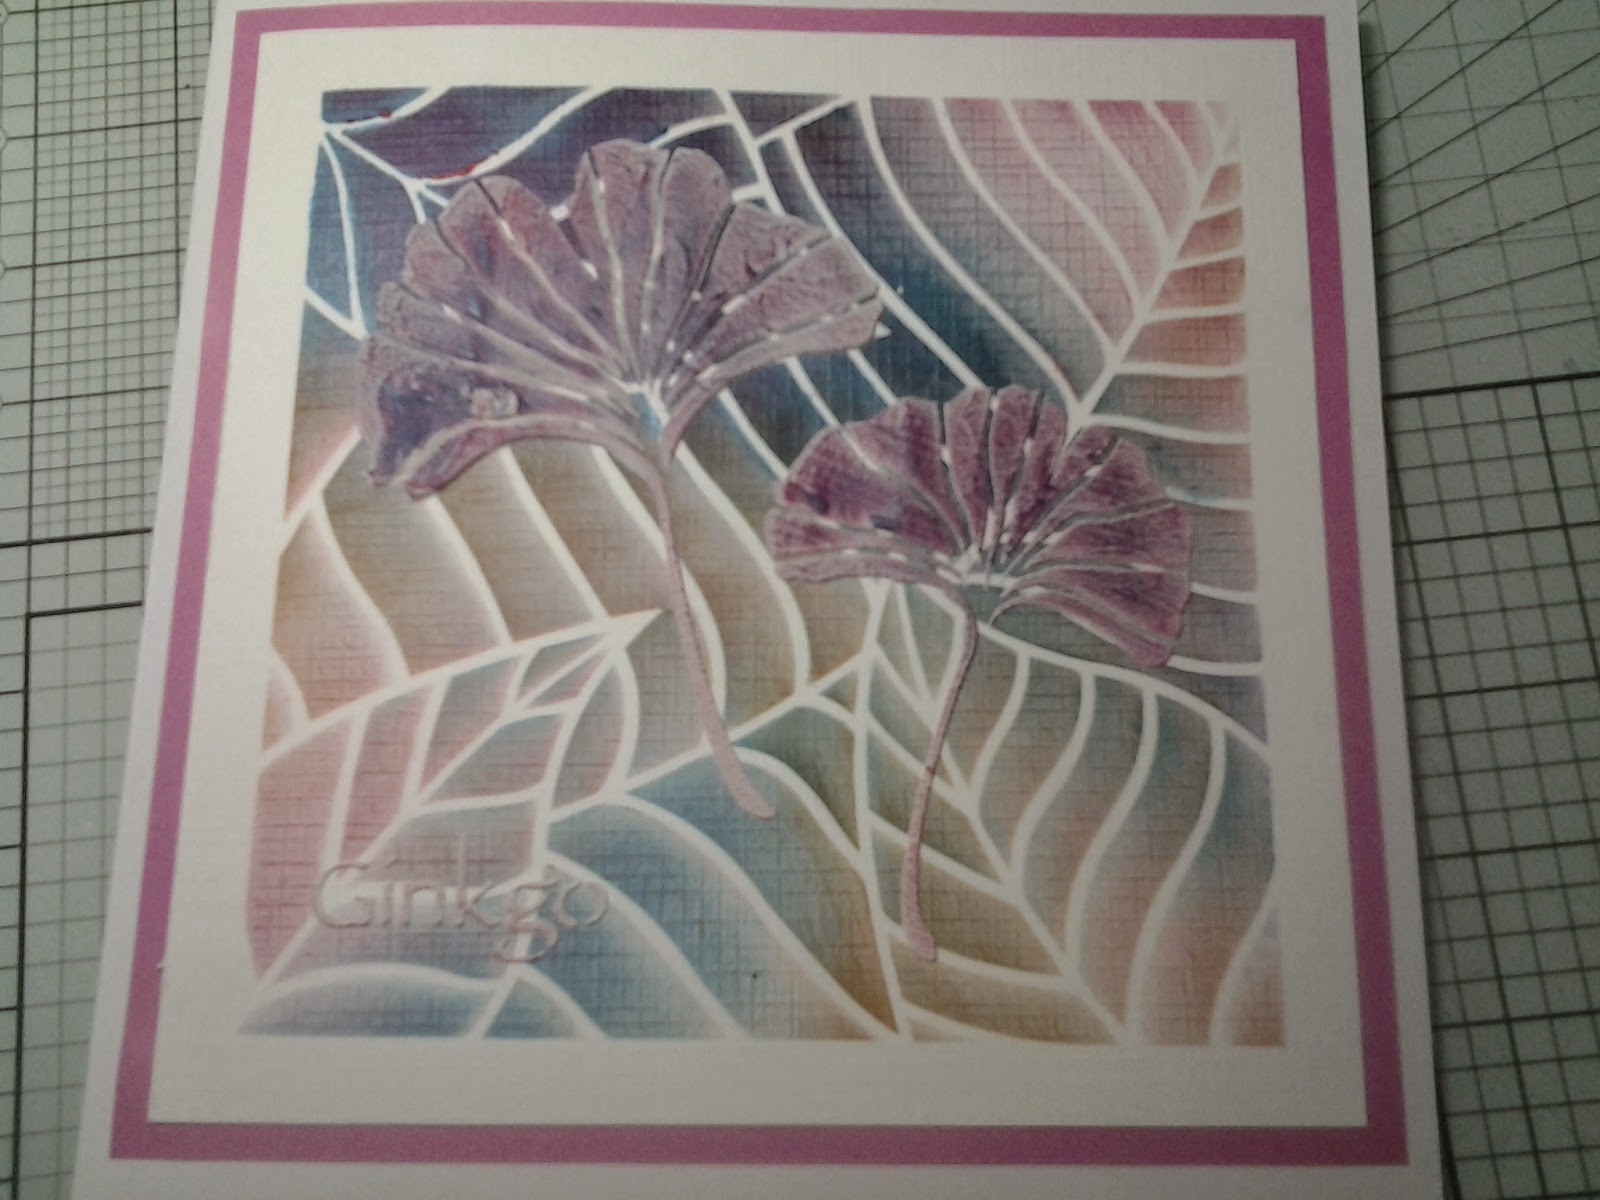
Good Afternoon  I am just sat sitting as I have been doing some bits and bobs of admin on the old lap top so whilst I was here I thought I would just blog this card I made.

It all started with Barbara's blog and her canvas - you can view it here.  Needless to say mine is pale in comparison but I thought I would give it a go anyway.  I practised on a bit of card stock to get the idea first.

Barbara used some Golden open acrylics - I haven't any of those but I have a few from Deco art so I used those instead.  Also don't have any canvas boards so I improvised and used Acrylic textured paper 30 gsm if you look really close you can see the canvass type texture.


Firstly I dragged in the paints (gold, red and blue) from the sides

Here's how it turned out

 I added the stencil (dirty from my practising) at a jaunty angle making sure that the exposed bits of my artwork were covered with bits of low tack tape


Added the grunge paste and left to dry.  Whilst it was drying I started two more (pics further down this blog post)


Love how the canvas pattern can still be seen 


whilst the paste was drying I also cleaned the stencil then replaced on my work and added more of the same colours through to colour the grunge paste.  I did the leaves in gold first then added blue from the bottom side to add some shade and also blue and gold make a greeny colour!  I did the flower head in gold, then added the red followed by a bit of blue at the bottom again for shade.

Out with the new word chains - oh yes indeedy I got them  and job done


I was quite chuffed with my little self

Here are two more done in the same way.  Methinks I might need some more of the pen acrylics - I likey lots.


Anyway that's it I think I will turn off the lappy and go and make a brew - happy crafting xx

Monday, 1 December 2014

Trees

Trees


Good Morning and welcome to December - it's nearly here - are you ready? Me ? no I haven't started the Christmas shopping but I am feeling smug in that I have made and written all my cards (over 70) some of the local ones have already been posted in our local scouts posts (they raise money for their funds every year by running a local postal service ---its only 25p per card so thats much cheaper but the last posting date is 5th December to give them time to sort it all out and deliver it.)  The sad thing is I wrote them all and sealed the envelopes then remembered I hadn't taken a piccy of any - how stupid is that.  I have the cards for my girls and their partners that are not sealed so at least I can take a pic of those and I suppose I had better make a card for Grumpy - though why I don't know as he doesn't like Christmas!

Anyhoo enough waffle from me.  We had some lovely entries for travel last month, the most popular stamps seemed to be the boy and birds, balloons and of course last month's ndc stamp the car with the tree in the back.  I wonder who will win and get and early Christmas pressie to spend at Clarity?

The final challenge for this year is Trees so here is my inspirational piece - well I hope its inspirational.


I started with some brusho's I used sandstone and rose red and on a piece of card and sprayed liberally with water.  I laid a piece of acrylic paint card on top with a linen finish and then lifted it off this is a cool way of doing it as you get two pieces so you can save one for matting and layering if you need it.

If you look at the picture below you can see how it just picks up the linen in places - its a really cool finish that I learnt from Pauline Wheeler


I used the remountable butterflies clear stamp set  for this card and I used versamark and black embossing powder so that the image would really pop.I added the top of the tree along the bottom together with some other tree stamps to create a "forest" I stamped the butterflies randomly in the "sky"

On the the other piece of plain card I stamped the some more butterifles and embossed in the same way then I cat them out


 This way I was able to stick them onto my previously stamped images and give them some depth


So there you have it  and here it is .  I hope it inspires you to have a go at this month's challenge